Printing Receipts at Home: The Complete Thermal Printer Setup Guide

A desktop thermal receipt printer is one of the few pieces of office hardware that has genuinely got cheaper and better at the same time. Entry-level units now cost less than a single set of inkjet cartridges, and they never need ink at all — the print is a heat reaction in the paper itself.
What has not got simpler is the setup. Thermal printers come from a manufacturing ecosystem built around point-of-sale terminals rather than home computers, and it shows: obscure driver packages, a command language from the 1990s, and DIP switches on the underside of the case. None of it is hard once you know the shape of the problem. This guide walks through the decisions in the order you actually face them.
Choose the Paper Width First
Every other decision follows from this one, so make it deliberately rather than by accident of whatever was on offer.
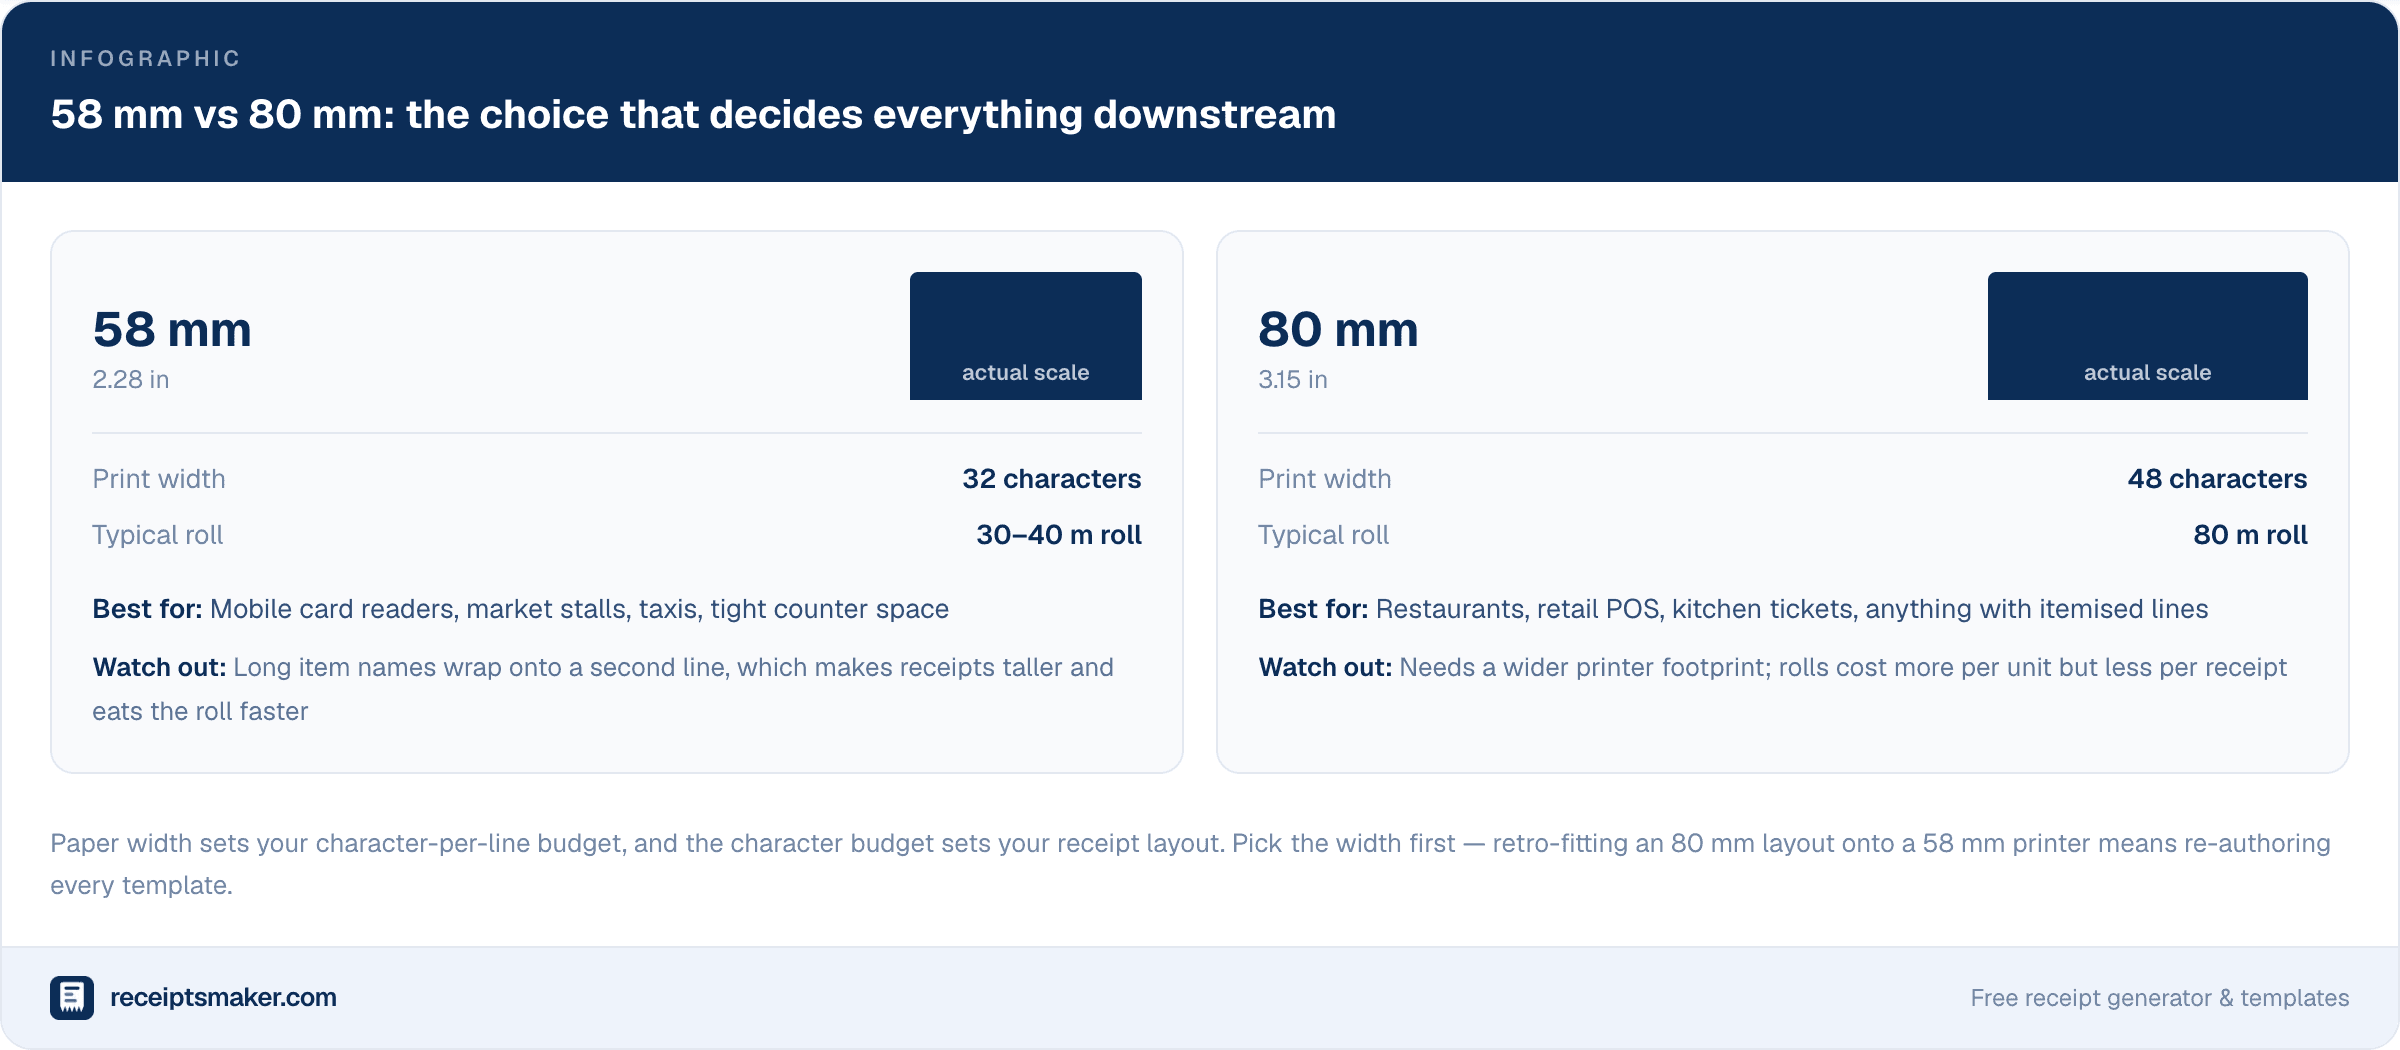
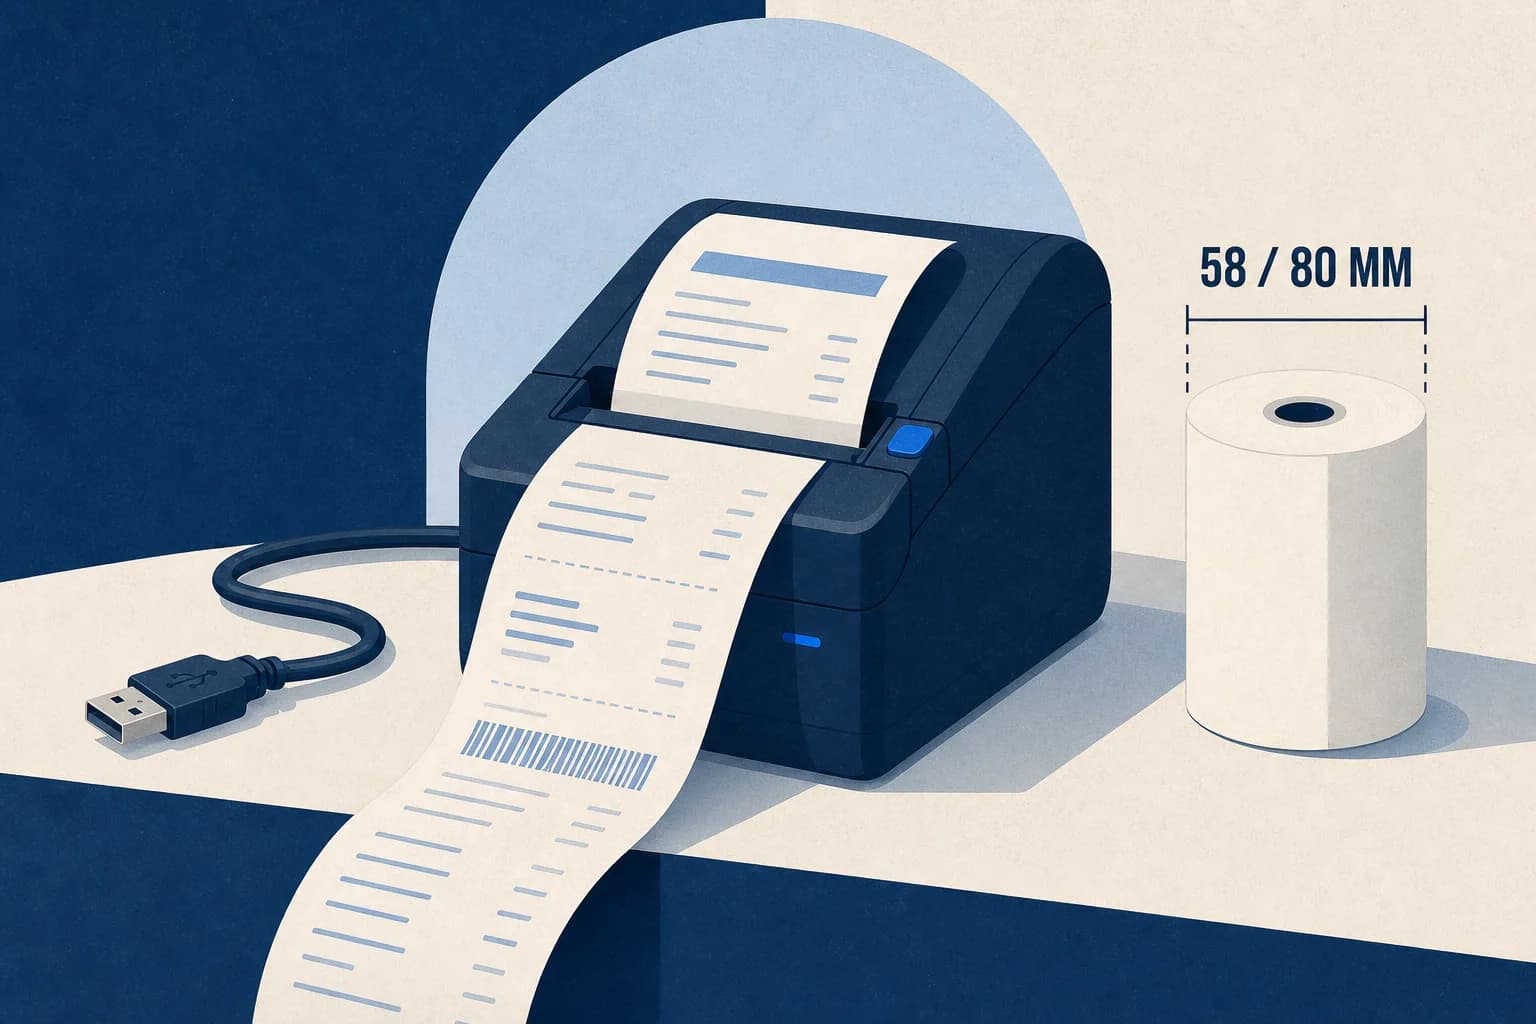
The reason width matters so much is that thermal printers are character-oriented, not pixel-oriented, in normal text mode. A 58 mm printer gives you 32 characters per line at standard font size; an 80 mm printer gives you 48. Your entire receipt layout — how long an item description can be before it wraps, whether a price column lines up — is built against that number.
This is why retro-fitting is painful. An 80 mm layout squeezed onto a 58 mm printer does not shrink; it wraps, and every wrapped line pushes the receipt longer and breaks the column alignment. If you expect to itemise more than a handful of lines, or your product names run past about twenty characters, choose 80 mm now.
One caveat that catches people out: an 80 mm printer can usually take 58 mm paper with a spacer, but the reverse is never true. If you are genuinely uncertain, the wider printer is the safer purchase.
USB, Bluetooth, Ethernet or Wi-Fi
The interface determines how much setup pain you are signing up for, and the cheapest option is not the simplest.
| Interface | Setup difficulty | Best for | The catch |
|---|---|---|---|
| USB | Easiest | A printer that lives beside one computer | Only one host at a time; cable length limits placement |
| Bluetooth | Moderate | Phones, tablets, mobile card readers | Pairing drops on sleep; range and interference issues in busy rooms |
| Ethernet | Moderate | Shared use across several machines | Needs a static IP or a DHCP reservation, or it moves and stops working |
| Wi-Fi | Hardest | Placement flexibility without cabling | Configuration often runs through a clunky web panel; 2.4 GHz only on most units |
For a home or single-desk setup, USB is almost always the right answer. It is the least likely to break, it needs no network configuration, and it is the interface manufacturers test most thoroughly.
If you do go with Ethernet, set a DHCP reservation on your router straight away rather than relying on the printer keeping the address it was given. A thermal printer that silently changes IP after a power cut is one of the more baffling faults to diagnose, because nothing appears broken — jobs simply queue forever.
Drivers, and What ESC/POS Actually Is
Nearly every receipt printer on the market speaks ESC/POS, a command language Epson introduced in the 1980s that became the de facto standard. Commands are short escape sequences embedded in the text stream — one to cut the paper, one to open a cash drawer, one to switch to double-height text.
This matters practically because it means printers are far more interchangeable than their branding suggests. A generic ESC/POS driver will usually drive a no-name printer perfectly well, and if the bundled driver CD is missing or the vendor site is dead, the Epson TM-T20 or TM-T88 driver is the standard fallback that works with a large share of clones.
You have two routes to printing:
- Install the printer driver and print from ordinary applications. The driver translates a normal page into ESC/POS. This is what you want if you are printing PDFs or web pages — including receipts generated in a browser.
- Send ESC/POS directly from your own software. More control, exact positioning, access to the drawer kick and cutter. This is the route for a custom point-of-sale application.
For most people the first route is correct. If you are producing receipts with our free receipt generator or from our template library, you are printing a rendered document, so a standard driver is all you need.
Setting the Page Size Correctly
This is the step almost everyone skips, and it is the cause of the most common complaint: receipts that print with enormous blank space or get cut off at the edge.
A thermal printer has a fixed width and an effectively unlimited length, which is a page geometry no default paper size describes. If the driver is set to A4 or Letter, it will scale your receipt to fit an imaginary 210 mm page and the result will be unusable.
- Windows — open Printer Properties, then Preferences, and select the roll paper size (commonly listed as 72 mm × Receipt for an 80 mm printer, or 48 mm × Receipt for a 58 mm one). Note that the printable width is narrower than the paper width.
- macOS — the custom paper size dialog needs the width and a generous height; set margins to zero, as the printer enforces its own.
- Printing from a browser — set margins to none and scale to 100%. "Fit to page" is what produces tiny, unreadable receipts.
The printable-versus-paper width distinction is worth repeating because it explains so much confusion: 80 mm paper has roughly 72 mm of printable area, and 58 mm paper about 48 mm. Design to the printable figure.
Choosing Thermal Paper
Paper is where the running cost lives, and where quality varies more than the price suggests.
- Check the coated side. Thermal paper prints on one side only. If your prints are blank, the roll is almost certainly loaded upside down — scratch the surface with a fingernail, and the side that leaves a dark mark is the coated one.
- BPA-free or phenol-free. Traditional thermal paper uses bisphenol A as the developer. BPA-free stock is now widely available and often required for retail use in the EU, where BPA in thermal paper has been restricted since 2020.
- Core diameter and roll length. A printer’s housing limits the maximum roll it can take. Buying 80 m rolls for a printer that only closes on 50 m rolls is a common and irritating mistake.
- Grammage. 55–65 gsm is standard. Lighter paper jams more; heavier paper can struggle through the cutter on cheaper units.
Be aware of what you are producing: thermal print fades. It is a chemical reaction rather than a deposit of ink, and it degrades with heat, light and contact with plasticisers. Typical legibility is three to five years — shorter than several statutory retention windows. We cover the chemistry in what is a thermal receipt and the retention consequences in how long to keep receipts. If a receipt needs to survive an audit, keep a digital copy as well as the printed one.
The Four Faults That Cover Most Problems
Paper feeds but nothing prints
Almost always the roll loaded upside down. Thermal paper is coated on one side; the print head can only develop that side. Do the fingernail test and reload. If the paper is correct, the second candidate is a failed print head, which on a cheap unit is usually not economic to replace.
Print is faint or patchy
Three causes, in order of likelihood. First, low-grade paper — cheap stock has a thinner coating and simply cannot develop a dense black. Second, a dirty print head; clean it with isopropyl alcohol on a lint-free cloth, with the printer off and cool. Third, print density set low in the driver or by a DIP switch, which is worth raising a step if the first two check out.
Receipt prints at the wrong size or gets cut off
A page-size problem, not a printer fault. The driver is set to A4 or Letter. Set the roll paper size as described above, zero the margins, and turn off any scale-to-fit option in the printing dialog.
Garbled characters or endless blank paper
The classic signature of raw data reaching a printer that expected driver output, or of a serial baud rate mismatch. Check the DIP switches against the manual — 9600 and 19200 baud are both common defaults and they are not interchangeable. On USB units, the usual culprit is a generic text driver applied to a printer that needs its ESC/POS driver.
When a Thermal Printer Is the Wrong Tool
It is worth being honest about the limits, because a thermal printer is a specialist device and plenty of people buy one who did not need it.
If you issue a handful of receipts a month, emailing a PDF is faster, free, more durable, and easier for the recipient to file. If your customers need documents on standard paper — most B2B invoicing, anything that goes in a post or a folder — an ordinary printer on A4 is the right answer. And if the receipt has to last, thermal is actively the wrong medium.
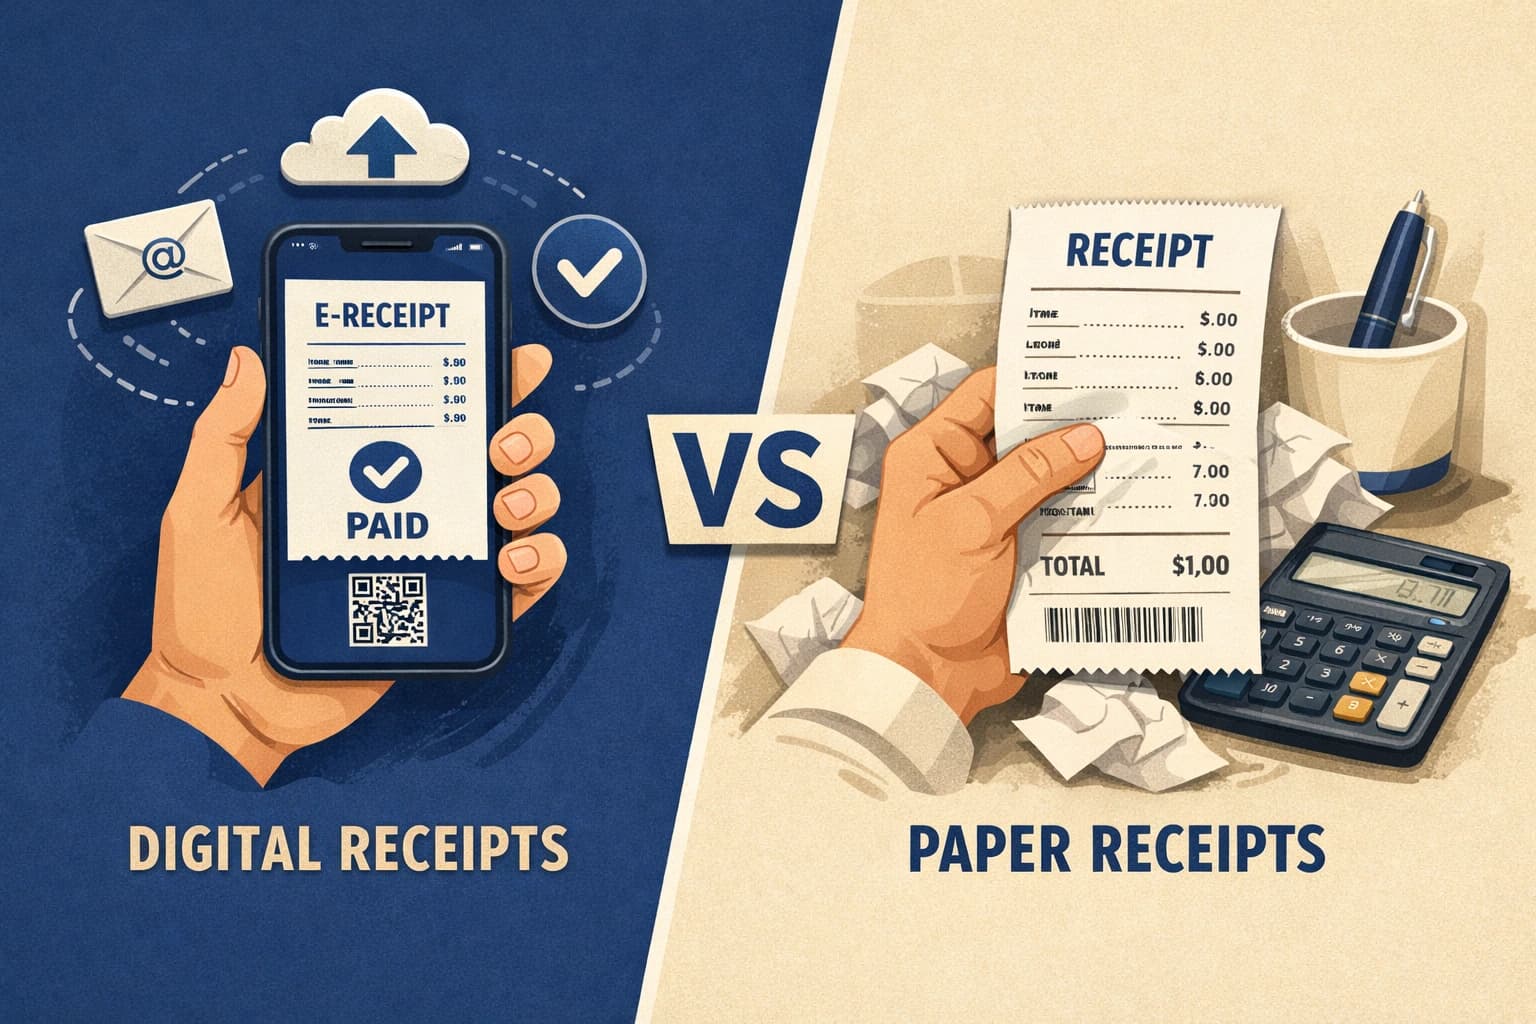
A thermal printer earns its place where you are handing a customer a document at the moment of payment, repeatedly: market stalls, taxis, parking, counter service, mobile trades. That is a real and common situation — it is just narrower than the printer aisle suggests. The trade-offs are set out more fully in digital versus paper receipts.
Conclusion
Pick the width before anything else, because the character count it gives you defines your layout. Prefer USB unless you have a specific reason not to. Install a real ESC/POS driver rather than a generic text one, and set the roll paper size — that single step prevents the most common complaint about these printers.
After that, the failure modes are few and well understood: paper upside down, cheap stock, wrong page size, baud mismatch. Work through those four and almost every problem resolves. And whatever you print, keep a digital copy of anything that matters — you can produce print-ready receipts for any format with our free generator before they ever reach the paper.